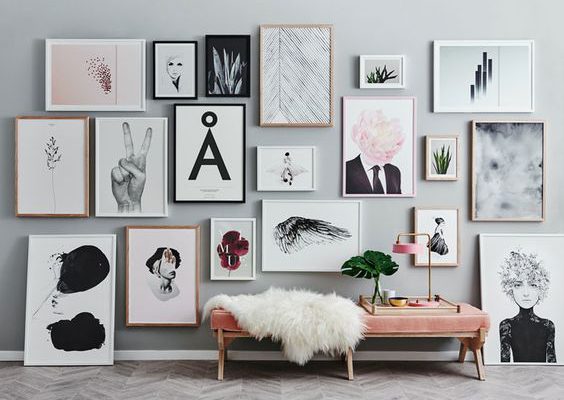
 gravityhome.tumblr.com
Interior and Design
How to set up a Gallery Wall
In an era where everyone has a smart phone and taking a million photos is normal, you may already be sitting on a goldmine-equivalent of images to create a Gallery Wall. (I may have over seven thousand photos on my phone). A Gallery Wall is a collection of photos/items arranged to create an overall statement in a coordinating colour pallette and complementary layout.
A Gallery Wall is a great way to make a statement and add personality to your home. Do you have a clear wall or a room with bright open spaces? Yes? Then a Gallery Wall is just waiting to be set up. Follow my 10 step guide on how to showcase your favourite photos and items in the one spot.
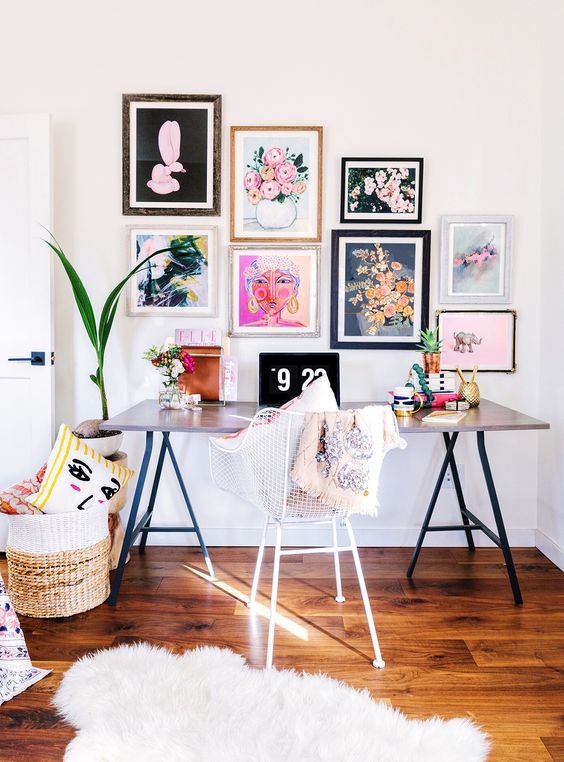
Image via: HonestlyWTF
Step 1- Get your inspiration
The first step of beginning a new project is often one of the best parts. Start by determining your gallery wall style. Do this by researching online to gauge what sort colours, themes and layouts work well together. For example, you may like a mixture of random shapes, all the one sized frame or you build your gallery wall into a shape like a love heart.
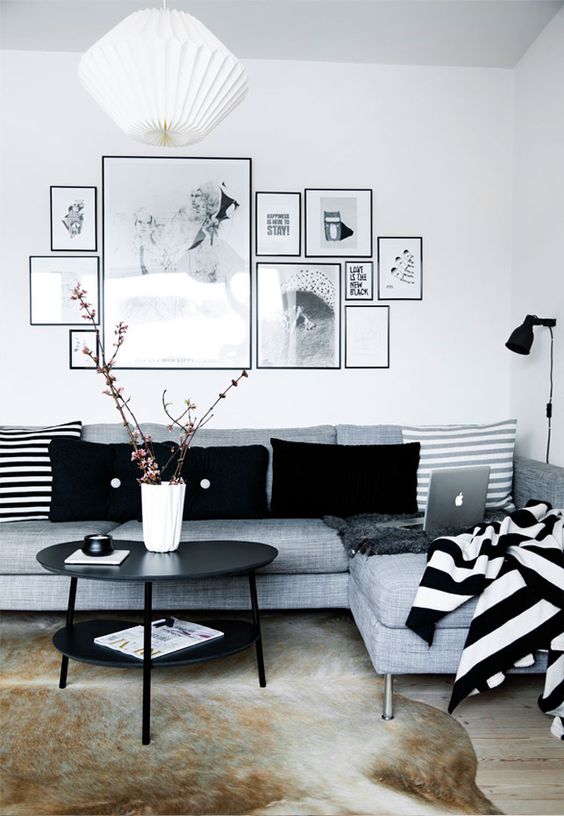
Image via Bloglovin’
Step 2- Colour theme
Select your photos following your chosen colour theme. The colour theme is often predetermined by the colours of the room you are building a gallery wall in.
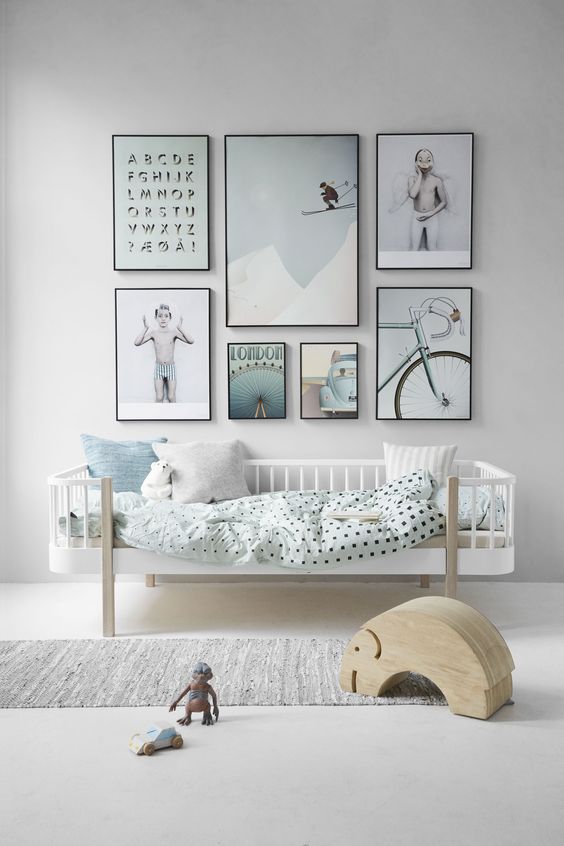
Image via Oliver Furniture
Step 3- Mixed up your media
You may also decide to add other art mediums- Clocks, faux taxidermi, wall decor, tapestry and garlands can complement the photos in your gallery wall.
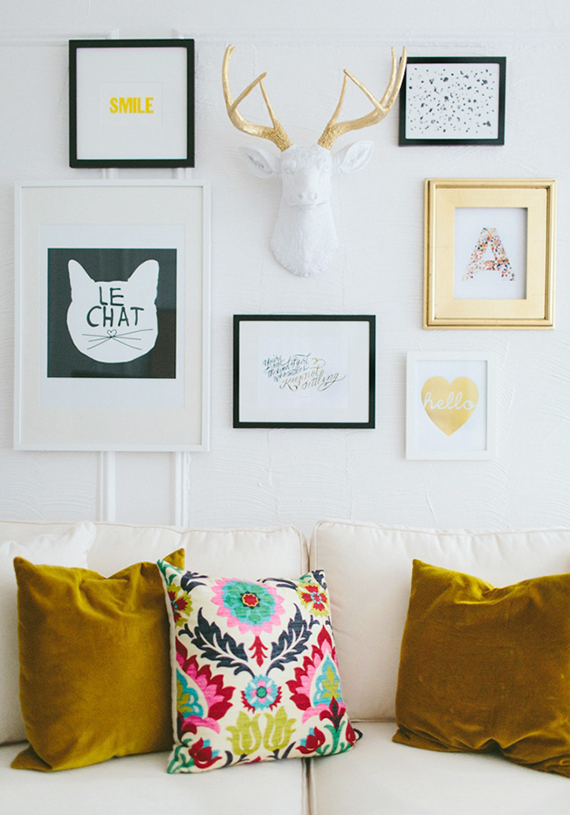
Image via: My Paradissi
Step 4- Play with scale
Vary the sizes and orientation of the art. Don’t forget about the tiny pieces and three dimensional objects. It’s important to anchor the gallery with 1-3 large pieces. To get the best result, make sure your larger pieces are off centre. This will ensure there is no true focal point of your wall as your gallery wall should work together as one whole statement.
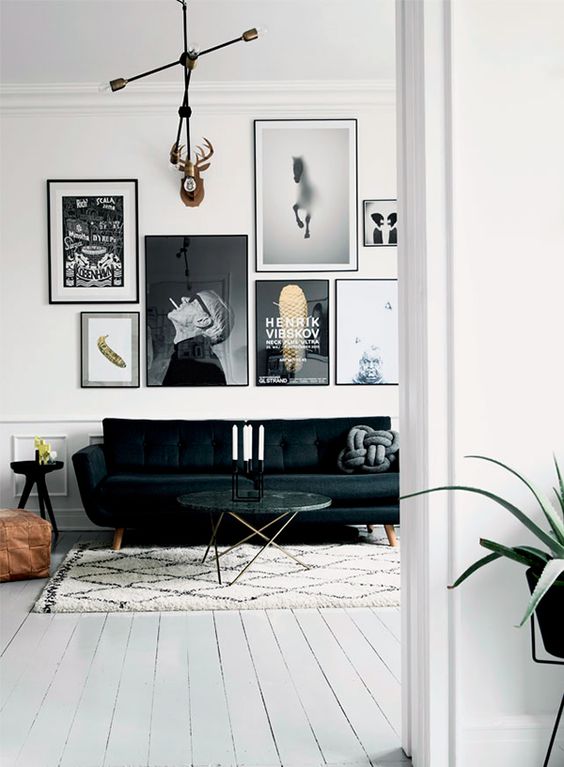
Image via: (my) Unfinished Home
Step 5- Selecting a frame
Choose a frame that works with the feel of your home and space. If you have softer colours, opt for a light timber colour, white or soft golds. Make your photos the hero of the wall and keep all frames white or go for a big statement with a mixture of colours and shapes.
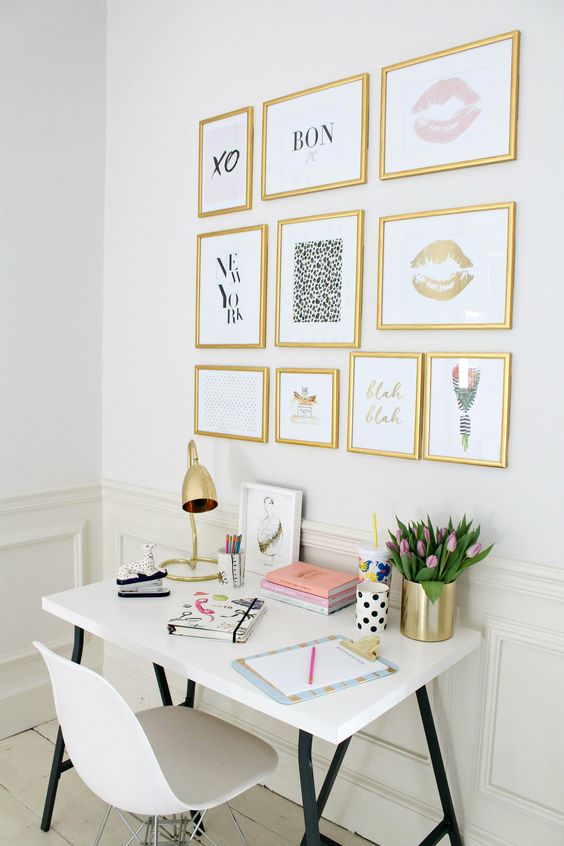
Image via: Little Big Bell
Step 6- Choosing a composition
This can be the tricky part, but I found looking at layout ideas was the most helpful.
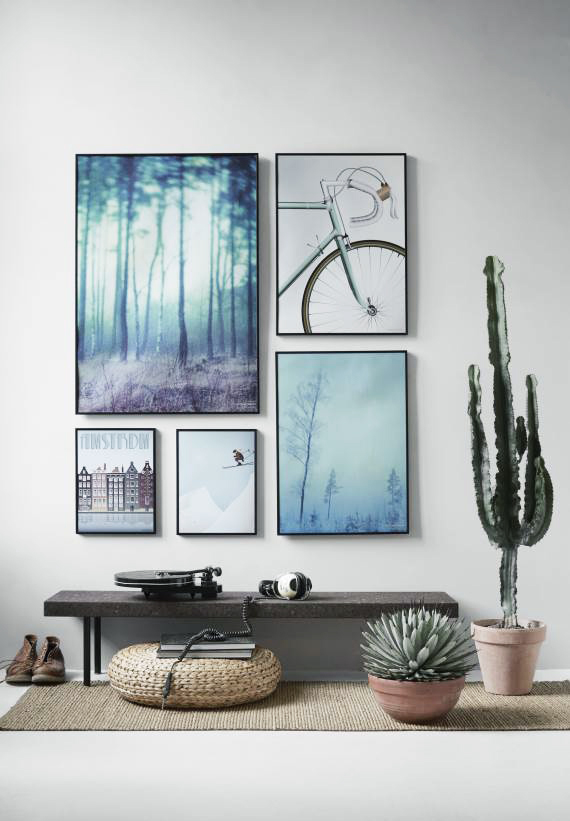
Image via: Trendsales
Step 7- Compose the artwork
Start by laying out the pieces of your gallery wall on the floor. The best place to begin is with your largest pieces, and then build out. It’s essential to play with scale by mixing different sizes and variations of art mediums. Don’t forget about the smaller pieces and 3 dimensional art. Eg, if you’re adding a large clock in, build this into your composition.
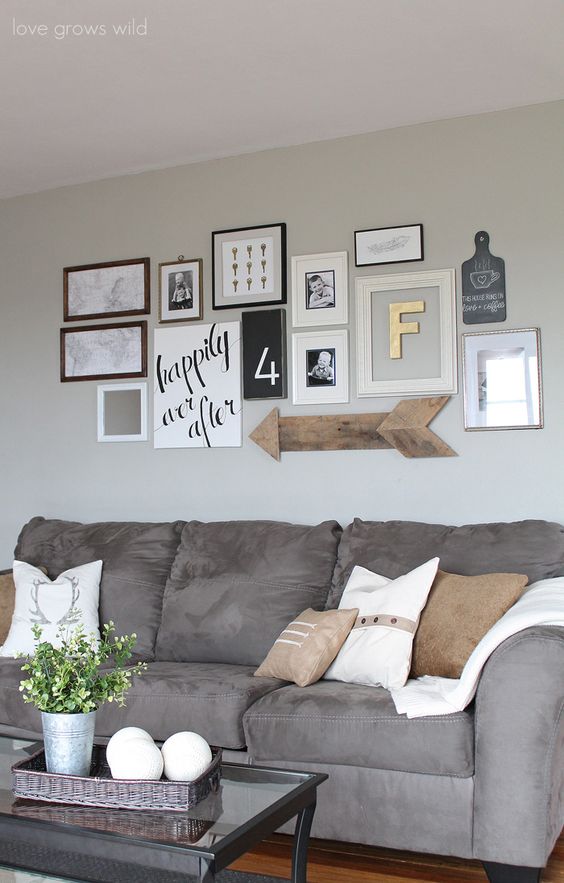
Image via: Love grows wild
Step 8- Mock it up
Now it’s time to finalise your composition and ensure the design works on the wall. Trace each frame onto a piece of kraft paper, trim to size and tape to the wall (using painters tape). Make sure you note which artwork goes with each piece of art work. As a general rule of thumb, you need to consider a few factors: Does if fill the space appropriately? Does the height work? If your Gallery Wall is sitting above a seating area, allow at least 7” of space between the couch and the first frame.
Step 9. Still unsure?
Before you start nailing into the wall, try multiple compositions. Take snaps on your phone of each option and then pick your favourite at the end.
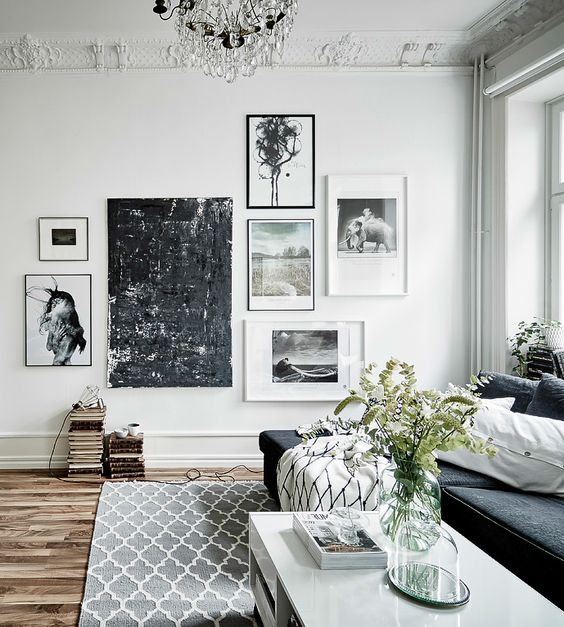
Image via: Bloglovin’
Step 10. Locate the hook and finalise
Once you’ve nailed the layout, find the hook position on each frame and mark on the cutout where the hook catches the wire. This step helps to eliminate any unwanted nail holes. For those renters out there, 3M Command is a good stick-on hook brand that doesn’t leave marks behind. Hammer in the hooks or hanging hooks where indicated on paper, remove the cut outs and hang your frames. Voila- finished!
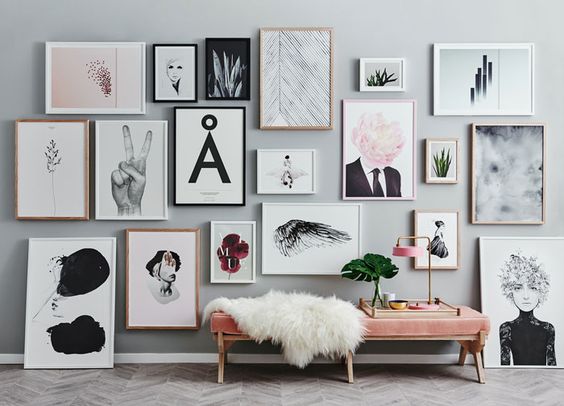
Image via: Gravity Home
Connect with us on Facebook, Instagram and Twitter
And also follow us on Pinterest
Comments
Cara is a Visual Merchandiser by trade with an eye for all things style. With this Cara believes that style doesn’t have to stop at work or how you dress; it can be part of your home and how you live.










0 comments