
Beauty
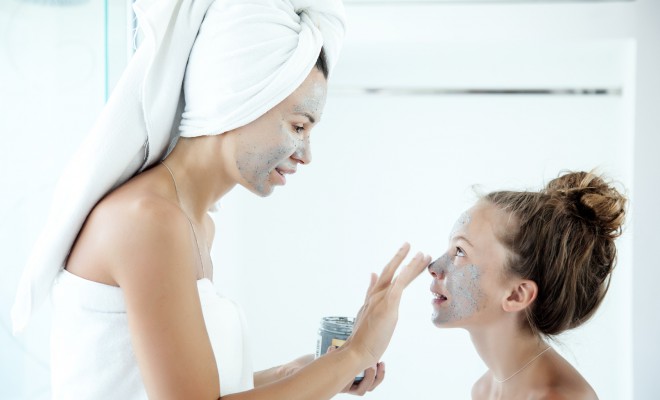
How to do a mini facial at home
Trying to save on trips to the salon? Never fear, Marina Juhas-Cucilovic from The Global Beauty Group is here to guide you through a DIY home facial.
If a weekly trip to the spa is out of the question (time restraint, budget, etc.), there’s no reason why you can’t treat yourself to a little TLC at home with a DIY spa facial. It takes just one hour or less to give yourself a bit of stress relief for your body, mind and skin – the perfect combination for a glow that radiates from the inside out.
Set the scene
Recreate the ambience of a spa in your own home in whatever way you can. Switch off your phone, turn off the TV, dim the lights and scatter around aromatic candles and/or an oil burner. As for music? YouTube is teeming with tranquil, meditate music just perfect for your DIY oasis.
Have your professional skin care products at the ready.
All you need for your facial is your usual skincare regimen (this should include cleanser, exfoliant, serum and moisturiser) plus a weekly face masque suited for your skin’s needs (eg. anti-ageing, acne, etc.)
Step 1: Cleanse
Apply your cleanser in slow, gentle circular motions – taking time and care to really work it into your skin as your beauty therapist would. Rinse or remove with a warm, dampened cloth. Repeat if necessary.
Step 2: Exfoliate
Once your skin has been cleared of dirt and impurities it’s time to exfoliate to remove dead skin cell build up, congestion and rough patches that have accumulated during the week. Massage the exfoliant into your skin as per instructions. If your exfoliant is designed to be left on for a few minutes, during this step you can run a hot bath (or foot bath) with essential oils and a splash of moisturising organic coconut oil. Thoroughly remove exfoliant with warm water or a damp, warm cloth.
Step 3: Serum
Just a few drops of a quality serum can be a powerful tool for enhancing your anti-ageing skincare results – so don’t overlook this step. Some serums are designed for full face usage while others only need to be applied to specific areas (eg. crow’s feet). Be sure to check with your skin specialist about this. Do not wash the serum off.
Step 4: Masque up
Now comes the all-important masque stage for an undeniable softness and glow! Apply this as per your skin therapist’s instructions. Typically masques need to be left on for 20-30 minutes for optimum results, so this is where you hop into your bath or foot bath, grab a book, or listen to the calming music and simply clear your mind with meditation.
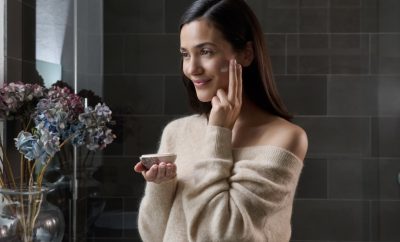
Step 5: Moisturise
Take off the masque as per instructions and follow with the final step – moisturising – to seal in all those wonderful nutrients and antioxidants you have just fed your skin with. Always massage in circular, upwards motions to ‘lift’ your skin (instead of dragging it downward) and do so until the moisturiser is very well absorbed.
Important note: If conducting your facial in the morning before going out, be sure to apply a high protection sunscreen after your final step. Freshly exfoliated skin has a much higher sensitivity to the sun’s UVA and UVB rays so it is essential to wear sunscreen, sunglasses and a hat, if possible.
Now you can enjoy feeling and looking like a million dollars without spending anywhere near that – so that’s something to really smile about. Do this once a week and your girlfriends will be begging to know what you’ve been up to – feel free to share the secret to your dewy skin (or not)!
To discover which kind of skincare regimen suits your individual skin type, call The Global Beauty Group on 1300 006 607 for specialist advice.
Comments
Marina is the Skincare Ambassador at The Global Beauty Group. Her devotion to understanding the science of skin is unmistakable. When it comes to laying the foundation for healthy skin Marina advises, “Never underestimate the power of a solid skincare regimen.”


0 comments